Heat Welding Basics for Homogeneous Sheet Vinyl
Creating vinyl sheet flooring ideal for healthcare environments

Heat welding is extremely popular and often required in sheet vinyl for applications such as laboratories, clean rooms and medical environments.
Photo: Tarkett.
Heat welding creates a thermally-fused bond between two sheets of vinyl flooring that provides an integral seam preventing contaminants and topical moisture from migrating into the seam. Heat welding is extremely popular and often required in vinyl sheet applications in laboratories, clean rooms, and medical environments such as operating suites and patient rooms.
While this article is focused on the basics of heat welding, I would be remiss if I didn’t mention starting with a concrete floor that has been properly prepared as described in ASTM F710 “Standard Practice for Preparing Concrete Floors to Receive Resilient Flooring”. Undulations and unevenness in the slab can create challenges and impact the grooving, welding and skiving processes.
The vinyl floor should be installed in accordance with the manufacturer’s instructions including the proper application of the adhesive. The adhesive should be allowed to dry prior to starting the welding process. The amount of time required to wait will be determined by the type of adhesive used.
When installing the vinyl and recess scribing the seams, allow a slight gap not to exceed 1/64" for heat welding. This slight gap will provide a guide for the power groover to keep it centered on the seam.
In a similar way that you use a scrap piece of material to ensure your recess scriber is set at the proper distance prior to scribing the seam, it’s a good practice to take a piece of scrap material and practice achieving the proper depth and width of the groove prior to starting on your seam.
The objective when heat welding is to create a three-point weld for optimal bond strength to the welding rod. This three-point weld is the bond created at the edge of the two pieces of material and the bottom of the grooved channel.
There are two methods used to groove seams: hand grooving and power grooving. Hand grooving will be required on every project, at a minimum, to groove close to the walls and weld intersections. There are several types of hand groovers available; select one that feels comfortable and easy for you to control. Power groovers are used on large projects and on long seams where the efficiency of the tool can be a benefit. They provide a consistent groove depth and width when used properly on a flat floor.
Grooving the seam on homogeneous sheet vinyl should be at a depth of 2/3 the thickness of the material. The groove should be centered on the seam removing an equal amount of vinyl (50/50) on both pieces of material. This is important, as the final bond of the weld rod can be compromised if you remove an unequal amount such as (75/25).
To avoid contamination in the seam area before heat welding, I recommend that you do not groove the seam until you are ready to weld. Other trades and simple foot traffic can track dirt and debris into the groove, preventing a good weld.
As with hand and power groovers, there is a large selection of heat weld guns on the market. They vary in several aspects of cost and performance. Care should be taken when selecting the right heat welding gun for you and the type of material you weld on a regular basis - vinyl, linoleum and rubber. Hand-held vs. automatic self-propelled, digital vs. manual heat settings, temperature range, etc.
Read more on the latest products and tips for installing resilient flooring
Selecting the proper tip for the heat weld gun is important. Consult with the flooring manufacturer to determine if they have a preference based on the PUR on the surface. When working with a 4mm weld rod, use a 4mm tip. A tip with that provides a narrow air flow will keep the hot air on the groove and help prevent glazing down the seam which is caused by a wider heat flow.
The temperature setting on the heat gun can be affected by the power supply, length of extension cord, temperature of substrate (concrete vs. wood, or site conditions), ambient air temperature, and the speed at which the installer moves down the seam.
As with scribing and grooving, it’s recommended to use a scrap piece of material to construct a practice seam to ensure the heat setting and speed in which the installer is working will provide a good seam.
When welding, you should see a “wash” on both sides of the weld rod at the floor contact point, this wash is an indicator you are getting the proper melt of the weld rod and bond to the flooring material.
Skiving the weld rod is a two-pass process. Immediately after welding, the first pass should be done with a skive knife and trim plate to remove the majority of the weld rod. Allow the weld rod to cool to room temperature, this normally takes approximately 20 to 30 minutes.
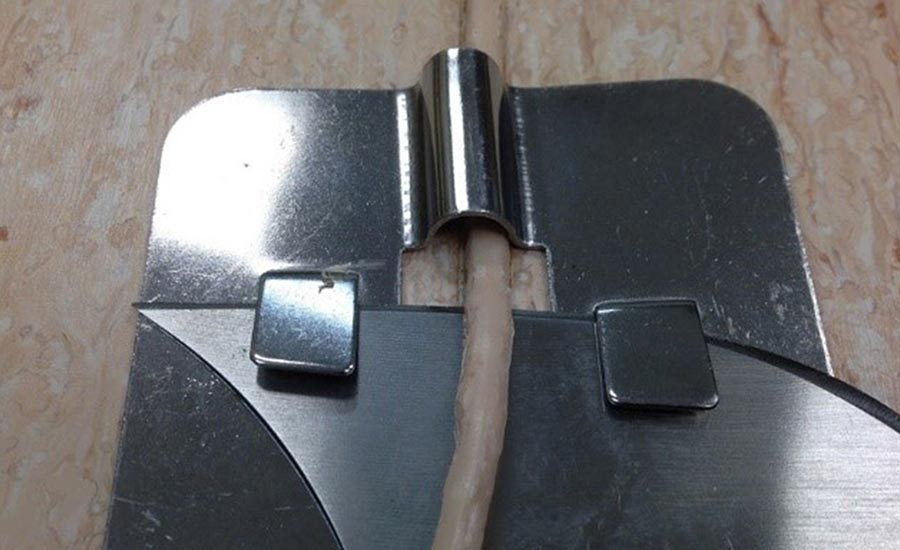
After the weld rod has cooled to room temperature, the second or final pass is made with the skive knife. This second skive should bring the weld rod even with the flooring eliminating any areas for dirt to collect. (Making the second pass while the weld rod is still warm will result in a concave seam that will collect dirt and an unsightly visual).
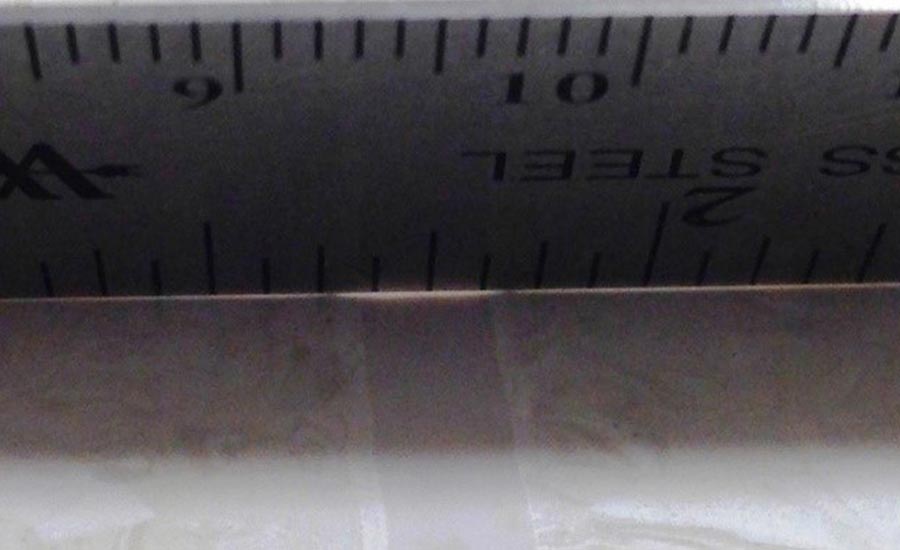
The floor can be open to traffic immediately after the heat welding process is completed. Heat welding is a not a difficult process, however the steps must be followed for the welding to be successful. I suggest plenty of practice which will increase your efficiencies and make you a prolific heat welder.
Looking for a reprint of this article?
From high-res PDFs to custom plaques, order your copy today!


