Moisture Testing for Engineered Wood Floors




Engineered wood floors have become very popular during the past few years because they are more economical than solid hardwood floors and can be more stable. But when it comes to measuring the moisture content, engineered floors present a problem.
This article will cover some general technical information about how moisture meters work and what the particular problem is, when measuring engineered floor planks as well as how to apply the measuring technology to measure moisture in engineered floors.
In the floor industry pin and pinless meters are both used. The calibration of all wood moisture meters is based on oven tests, which are performed with solid wood pieces. Moisture meters indicate percent values based on the dry weight (0% moisture).
An accurate percent value is only achieved when the moisture meter is programmed to correct for the wood species of the floor planks. That is true for all pin and pinless meters. The meter manufacturers provide listings for their moisture meters for the most common domestic and tropical wood species.
We recommend pinless dual-depth meters with a depth setting of ¼” and ¾” to measure engineered floors.
So how do you measure the moisture of an engineered floor with a pinless meter? Which correction setting has to be chosen to obtain the correct moisture percentage? Should you choose the setting of the wear layer and use it for the entire plank, top to bottom?
The problem is easily understood, when you look at how pinless meters work. Some people think, because they are sitting on top of the surface, they only measure the surface. Some people think, because the measuring depth is ¾”, they only measure at that level.
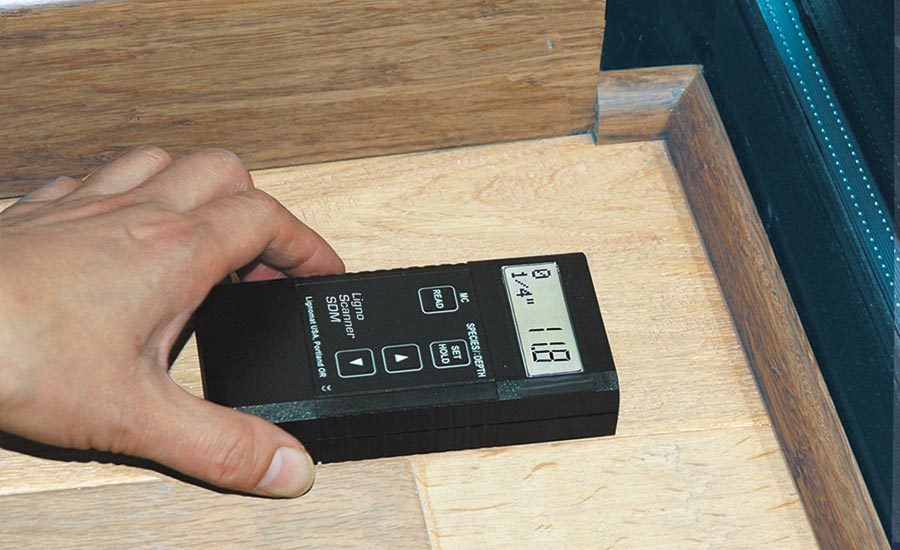
Instead, pinless meters indicate the average moisture within their measuring field. If the measuring field is larger than the material to be measured, measurements are too low. They can also be too high, when the measuring field includes the material (concrete) below the floor plank. A dual-depth pinless meter is pictured below with two separate measuring fields. One measuring field reaches from the surface down to 1/4” deep, the other measuring field includes everything to ¾” deep. The average moisture in the field is indicated.
To determine the right correction setting would be easy, if this were a solid floor. It becomes tricky, when measuring engineered floor planks.
There are endless possibilities how engineered floors are put together. The thickness of the wear layers are usually between 1-4mm. The core and the bottom layer could be of different thicknesses and materials glued together.
Measuring Engineered Floors
As pointed out above, the difficulty is to determine the right correction setting for the moisture meter, since different materials of varying thicknesses are glued together. Even engineered Maple floors differ in composition from one manufacturer to the next.
Here is how these correction setting were found: First step, a piece of floor is needed with a known moisture content.
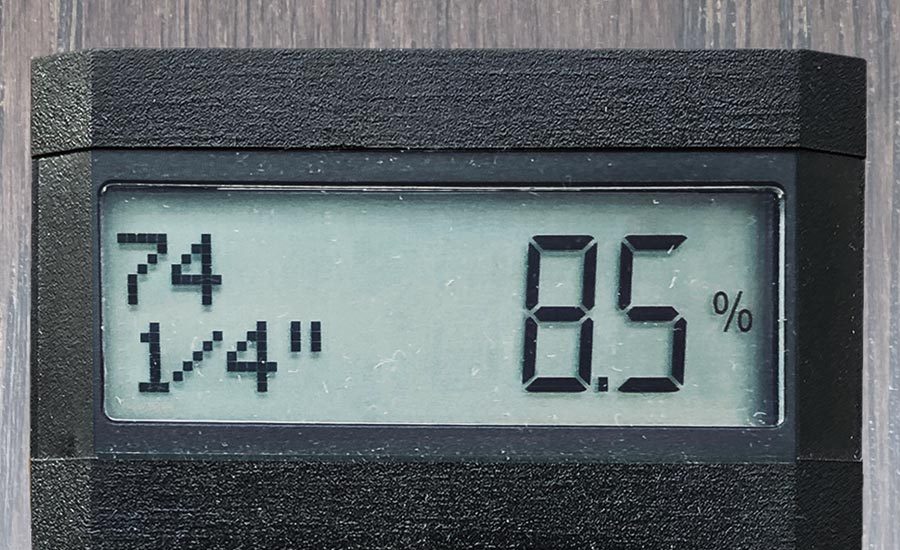
Let’s assume we already found a sample piece of the engineered floor and we know that the moisture content of the sample is 8.5%. Later, we will explain how to determine a test sample with a known moisture content.
Assume you had a test sample of the floor at 8.5%, and now you want to find a correction setting for your pinless moisture meter. Set the meter to ¼” depth and take a measurement on correction setting # 50: The percent value indicated at the meter is for sure higher than the 8.5%. Next, you change the setting from # 50 to a higher setting and take intermittent measurements until the indicated moisture percentage is 8.5%. The setting, which gave the 8.5% reading can be used in the future, when measuring the wear layer of the same kind of engineered floor planks.
For the Ligno-Scanner SDM the following numbers were found.

If the bottom of the floor plank should also be measured, you have to repeat the procedure described before. Again, you assume the floor plank is well acclimated at 8.5%. Then the scanner is set to ¼” depth and the species correction # 50. Then change the setting until the moisture percentage is 8.5%.
We found some engineered floors to have the same setting for wear layer and core. However, that in most case, top and bottom required different correction settings.
Just a note: the procedure described above only works when the pinless meter settings are based on the specific gravity of the wood. Pinless meters usually have correction settings based on specific gravity, numbers between 30 to 100 or 0.3 to 1. The other important factor when using any pinless meter is that the user has to put slight downward pressure on the meter when taking measurements.
This procedure does not work for pin meters, since the correction settings for pin meters are not based on specific gravity and are not a linear sequence of numbers. We found, for pin meters, that measurements were higher than expected. Lignomat pin meters produced better values on correction setting #1 less 2%.
Determining the Moisture Content of the Test Sample
The last question is, how do we know the moisture content of the test sample? This can only be determined when we know that the test sample has been kept for a few weeks in a stable environment. If the test sample is kept in a stable environment, it will acclimate to a certain moisture value depending on the relative humidity and ambient temperature. The stable environment could be a climatized showroom or a storage area in the manufacturing facility. A thermo-hygrometer can show what the relative humidity is.
The floor manufacturer and the floor dealer have a definite advantage over the installer and even more so over the inspector since they can keep sample pieces for a few weeks in a stable environment and use the above described method to measure the test sample. A thermo-hygrometer can show what the relative humidity is.
The EMC chart gives the corresponding moisture percentage for any ambient relative humidity and temperature.

Example: If the relative humidity stays around 45% and 70°F , the test sample will acclimate to 8.5%.
A wood floor is considered stable when measured moisture values are 6-9%. Moisture varies depending on the region in the US, 6% and below for dry Colorado, 9% and above for humid Florida. When an HVAC system is in operation, the values should stay within 6% to 9%.
If you want to verify the so found, assumed moisture content (8.5% in the test sample), then you could measure some solid floor in the same area and see if that floor has the same moisture content.
Floor manufacturers and dealers could make it easy for the floor installer and inspector if they would provide the correction settings for engineered floors, especially if the setting is different from the wood species setting for the wear layer.
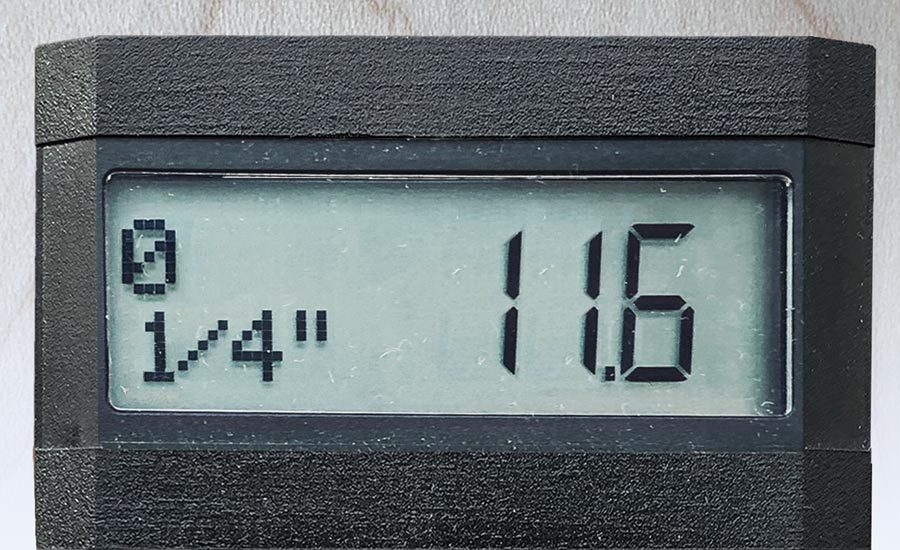
If no recommendation for a correction setting is available, the installer can take measurements with the reference scale #0 available in the Ligno-Scanners. The indicated values are not moisture percentages. However, the values indicate variations and can serve as a reference value to go back to and compare, should any problems occur at a later time.
The inspector may have an additional problem if he is called to inspect a floor and cannot determine the wood species of the floor planks. This happens even for solid floors. When no information is available, the inspector can use the reference scale #0. This allows him to compare different areas and to create a record for future inspections.
Any report about moisture measurements should contain, which meter was used, the correction setting, the measuring depth and the sensitivity (range for the reference scale; 0-10, 0-100,…), and the location, where the measurement was taken (photo).
A moisture meter is an essential tool for all wood floors, whether they are engineered or solid.
Looking for a reprint of this article?
From high-res PDFs to custom plaques, order your copy today!


